Store - View Core: OxWall 1.9.0 Complete Package
memberads+item_view_images
OxWall 1.9.0 Complete Package
Latest version of OxWall, 1.9.0 Build 11711
Modified by owspain.com with many improvements and all libraries updated.
If you want to upgrade from a previous version, there is another package, OxWall 1.9.0 Update Package, which is only for new installations.
It is distributed in a single ZIP file.
PHP version 8.1 or higher is required.
Installation process:
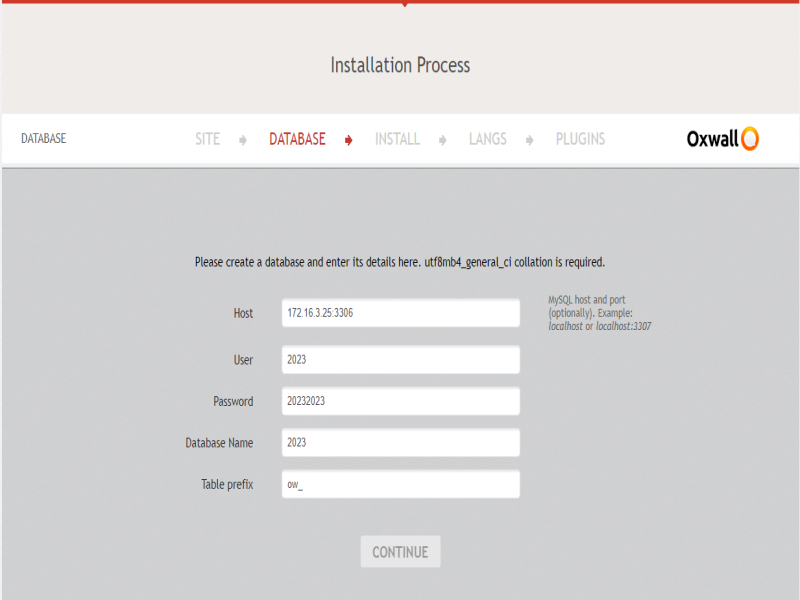
1. Create a database from your server's control panel in utf8mb4_general_ci format, and keep it empty.
2. Carefully note down the database name, password, and access details.
3. Unzip this file in the root directory of your website (usually httpdoc or httpdocs).
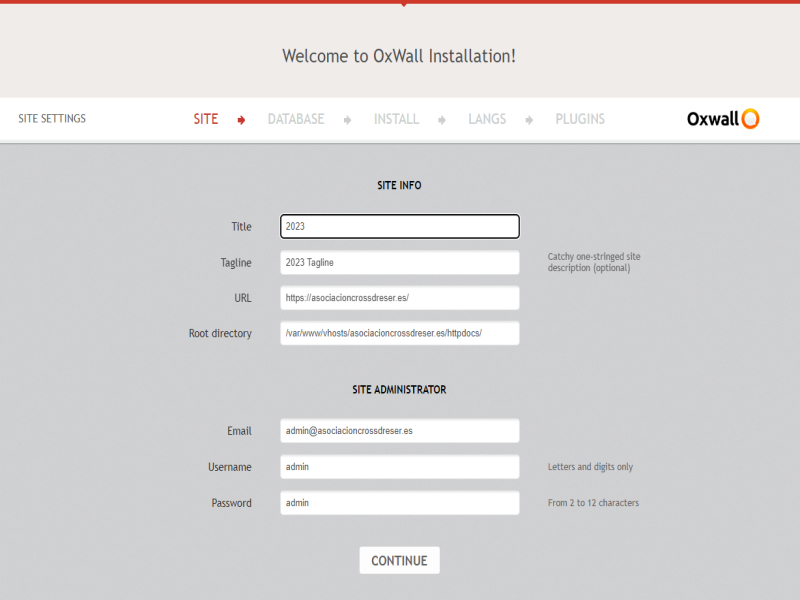
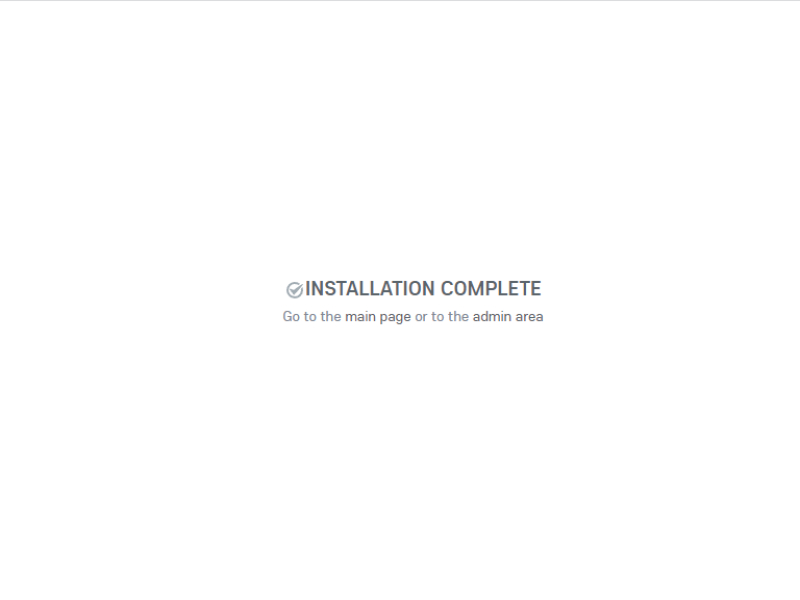
4. Access your website, and the installation script will appear.
5. Follow the on-screen instructions and carefully note down the username and password you assign to the administrator.
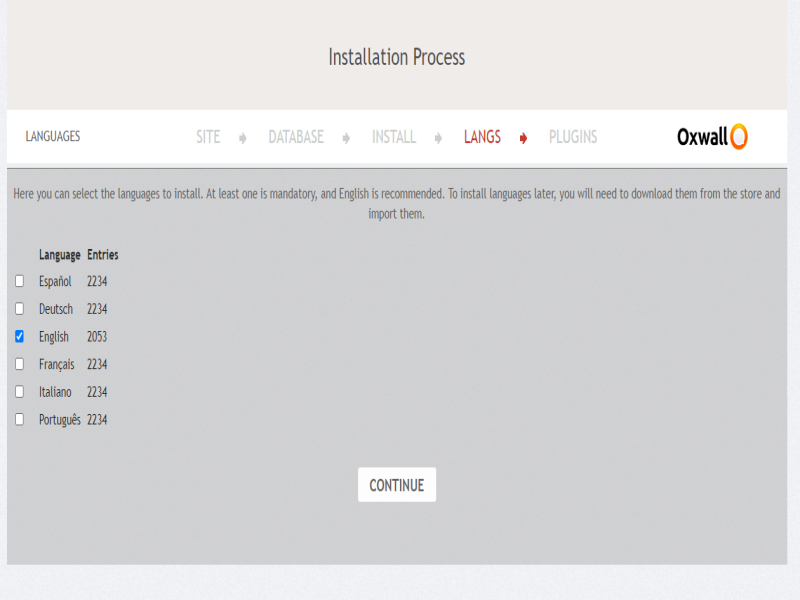
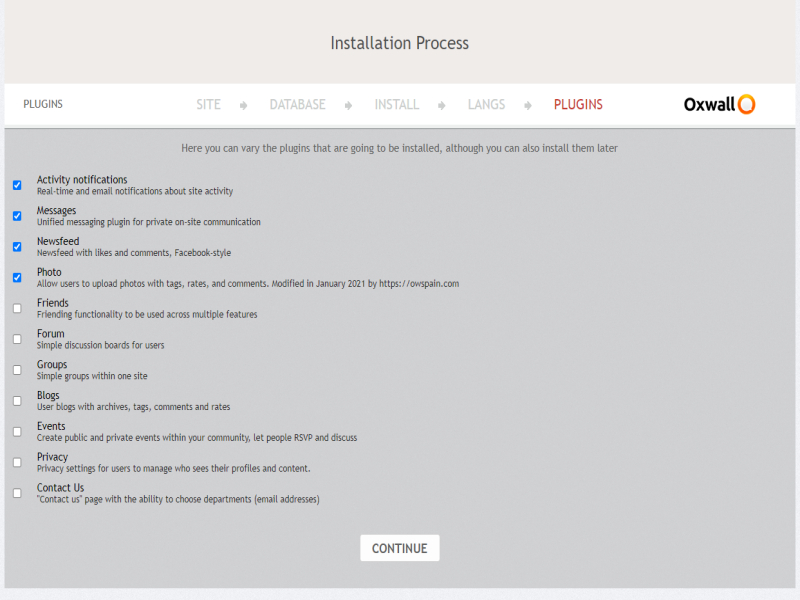
6. We do not recommend adding more plugins or languages than those you will be using.
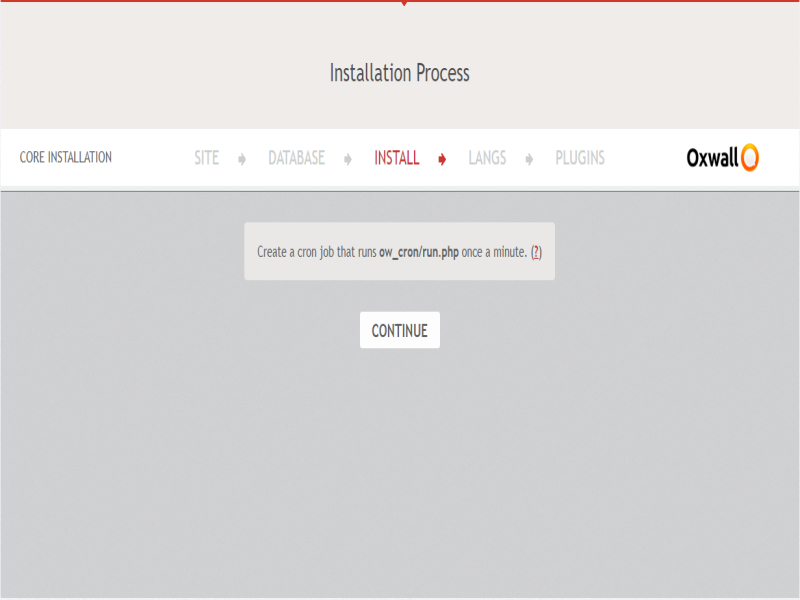
7. Schedule the task scheduler in your server's control panel to execute https://sample.com/ow_cron/run.php every two minutes.

The Wall
I'm going to modify and simplify it because it's unnecessarily complex.
Currently, it makes a copy in a temporary directory and once downloaded, it deletes it, but all this hassle is not necessary. Moreover, there are some directory issues, and the link provided doesn't work.It's true, there is a problem with file downloading.
I'm going to modify and simplify it because it's unnecessarily complex.
Currently, it makes a copy in a temporary dire...See more
You can "cheat," but I can't tell you what consequences it may have.
I don't think it will affect anything at all. Among all the libraries, the one that is most demanding with the PHP version is PHPMailer, but OxWall doesn't use the advanced functions of PHPMailer, only the basic ones.
Edit the file:
https:sample.com\ow_libraries\vendor\composer\platform_check.php
and in line 7, where it says:
if (!(PHP_VERSION_ID >= 80100)) {
change 80100 to 70000, and it will work.You need to use a PHP version equal to or higher than 8.1, but you're using 8.0, hence the error.
You can "cheat," but I can't tell you what consequences it may have...See more
2. Find the file named "index.php" in that directory. If you can't find it, check if the file has a different name or if it's located in a different directory.
3. Right-click on the "index.php" file and select the "Rename" option.
4. Change the file name from "index.php" to "index.ph". Make sure to keep the ".ph" extension and remove the last letter "p" from the original ".php" extension.
5. Create a new file named "index.php" in the same directory. You can do this by right-clicking on an empty space within the directory and selecting the "New File" option. Ensure that the name is exactly "index.php".
6. Open the new "index.php" file with a text editor. You can use Notepad on Windows or any basic text editor you have available.
7. Write the following content in the "index.php" file:
<?php
phpinfo();
?>
8. Save the "index.php" file after adding the code mentioned above.
9. Visit your website through a web browser. Enter your site's URL and press Enter.
10. You should see a page with information about the PHP version and other related configurations. Verify the PHP version displayed on the page.
11. Once you have observed the PHP version, make sure to delete the "index.php" file you created with the "phpinfo()" code. You can do this by selecting the file and pressing the "Delete" key on your keyboard. Confirm that you want to delete the file when prompted.
12. Change the file name of "index.ph" back to "index.php" by following steps 3 and 4 again.
By following these steps, you will have renamed the file, created a new file with PHP content, checked the PHP version on your website, and then restored everything to its original state.1. Access the directory where the file you want to rename is located. You can do this using an FTP client or by using the file manager provided by your web hosting provider.
2. Find the...See more